How to Make an Animated YouTube Intro for Free with Keynote
An animated intro is a key trademark of a professional video. And you can create your own for free. Learn how to make an animated YouTube intro with Keynote now.
Unless you’re a motion designer, creating a simple logo animation may seem out of reach.
It’s not!
Today, you’ll learn how to create a slick intro for your YouTube videos using Keynote. (Yes, that Keynote — the presentation application for Mac.)
Update: I launched an in depth course about creating animated videos with Keynote. Learn more and sign up »
That means there will be little-to-no learning curve here. You don’t need experience with Adobe After Effects or some other complicated animation software. If you can create a presentation, you can build an animated intro.
Cool, right?
In this tutorial, you’ll create an intro animation for Joe’s Cafe, a fictional coffee shop. Feel free to customize the animation based on your own brand.

Note: If you don’t own a Mac with Keynote, this tutorial probably won’t be that useful to you. (However, you could replicate the project, more or less, using Keynote for iPhone or iPad.)
Ready to make an animated YouTube intro? Just follow these steps.
1. Create the Keynote project
Open Keynote, click the “Wide” button, and select the White template.
Once the project loads, click Document in the top right, and change the Presentation Type to Self-Playing, the Transitions Delay to 3, and the Builds Delay to 0.
Under Slide Size, select “Custom Slide Size…” and make sure the dimensions are 1920px by 1080px. This will give you a nice, high-quality video.
Finally, delete the pre-populated text boxes on the slide.
2. Create the coffee mug
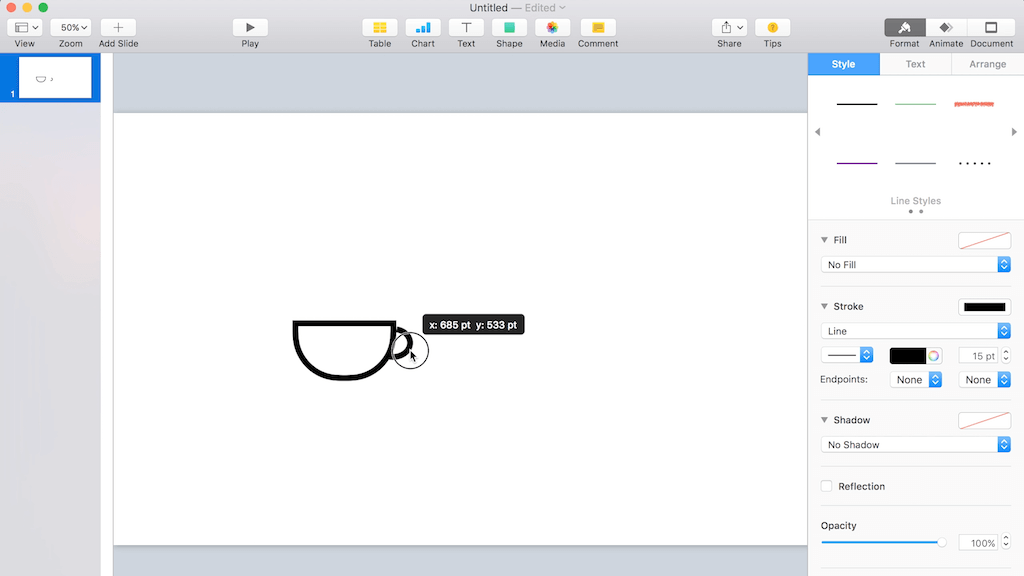
In the Shape toolbar, click the rounded rectangle. Under Format, change the shape’s background to “No Fill,” create a 15pt line border, and remove the drop shadow. Click Arrange, and change the shape size to 245pt by 245pt and the Corner to 110pt. (This last step should make the square look more like a circle.)
Next, add another shape — this time a normal rectangle. Change the background fill to white, and remove the drop shadow. Adjust the shape’s size until it’s wider than the circular shape and about half as tall. Position the rectangle on the upper half of the circular shape, forming a “U.”
Then add a line (from the Shape toolbar), make it 15pt, and reposition it so that it’s horizontal. Move this line on top of the “U” cup shape, adjusting the length as necessary to make it flush.
Finally, using the Draw with Pen tool (again, under the Shape toolbar), create the mug handle by clicking once, clicking and dragging to create the curve, and double clicking to close out the shape. Under Format, change the line to 15pt to match the rest of the cup.
Click the original circle-like shape, duplicate it, and move the copy to the side. Repeat this step with the white rectangle. (We’ll use these elements in the next step.)
Lay the handle on top of the other elements to make a mug. Then right-click all of these elements and select the “Group” action. Now the individual mug shapes will act as one.
3. Create the coffee fill
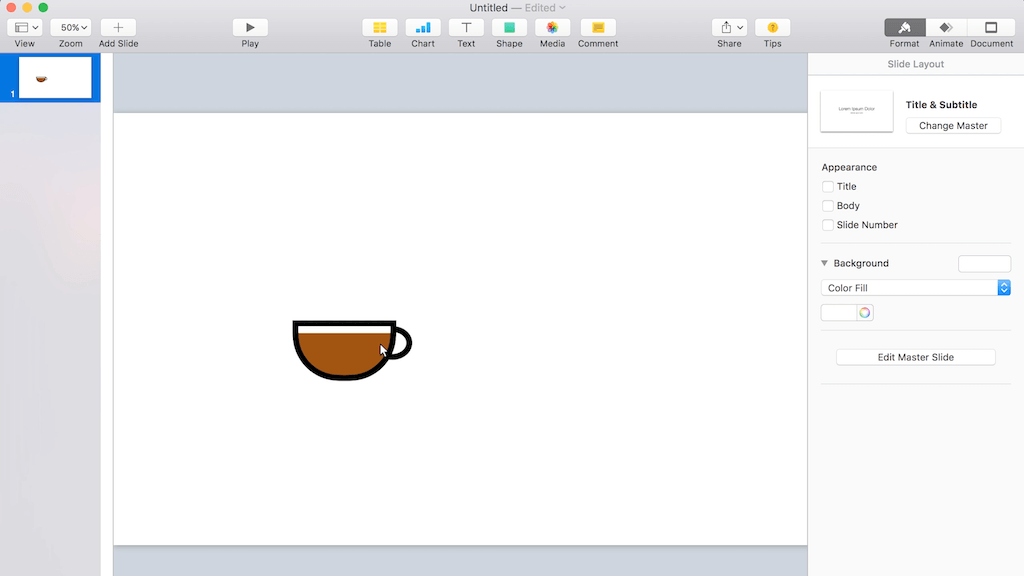
Remember that duplicate white rectangle? Move it just below the top of the coffee mug, right-click, and select the “Send to Back” action.
Next, select the duplicate circular shape and, under Format, change the background fill to a dark brown color, and set the border to “No Border.” Once you’ve done this, move the shape on top of the coffee mug, right-click, and select the “Send to Back” action.
Recommended: Create an Animated Quote Video in 10 Minutes or Less »
Now you should have a coffee mug that looks like it’s nearly full of coffee.
3. Animate the coffee mug
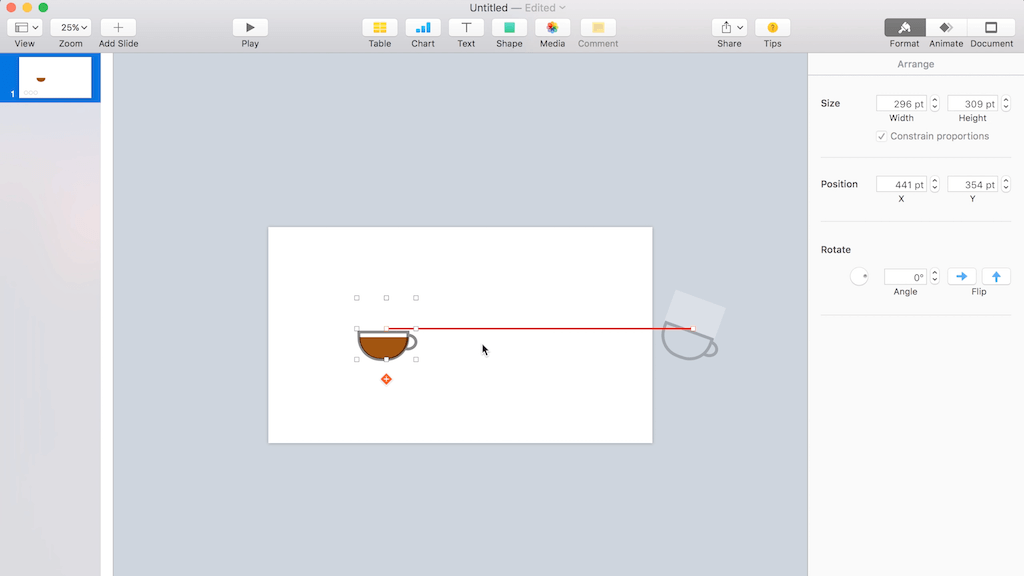
Select the coffee mug group and, holding shift, drag it off to the right of the slide. Under Format, click Arrange and rotate the angle of the mug to 340˚.
Next, under Animate, click Action and then click the “Add an Effect” button. From the following menu, select “Move.” A ghosted version of the coffee mug will appear. Select it, and under Format, click Arrange. Then reset the rotation angle to 0˚.
Holding shift, drag the ghosted coffee mug onto the slide, and center it over the coffee fill. Back under the Animate tab, click the “Preview” button to make sure the mug slides in while simultaneously rotating and ending positioned over the coffee fill.
If all looks good, under the Action tab, click the “Add an Effect” button again. This time, select “Pop” from the menu, and change the scale to 110%.
Click the “Preview” button again to ensure your mug slides in and subtly pops for emphasis after the slide.
Now select the coffee fill, and under the Animate tab, add the “Wipe” Build In effect. Make sure the direction is set to “From Bottom.” This will create a cup-filling effect.
4. Create and animate the text
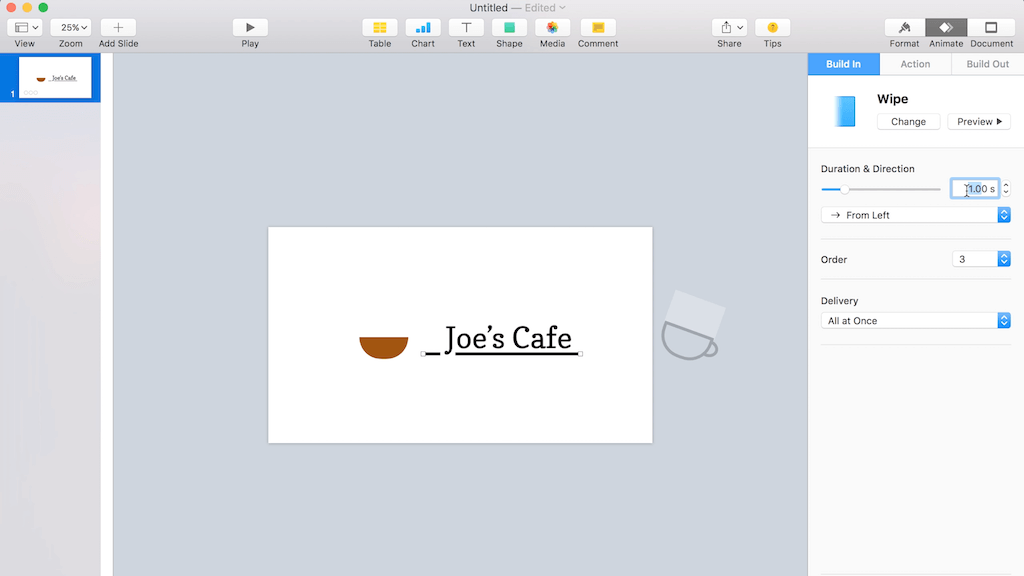
Under the Shape toolbar, add a new line. Again, make this one 15pt and position it horizontally. (It will be the underline for the logo text.)
Next, add a rectangle, set the background to white, and remove the drop shadow. Under Arrange, change the dimensions to make the shape a 75pt square, and position it near the beginning of the line. (In a moment, you’ll use this space in the line to accommodate the descender of the “J.“) Right-click both the line and the shape, and select the “Send to Back” action.
From the top toolbar, add a new line of text. Type the name of our fictional brand, “Joe’s Cafe.” Under Format, select the “Copse” font. (Copse is a Google font you can download for free here. It’s also in the project assets I linked to above.) Set the Font Size to 150pt.
Now position the logo type so that the descender of the “J” in “Joe’s” drops through the gap you created with the white shape.
At this point, feel free to move things around to balance the composition.
Once the general layout looks pretty good to you, select the text, and, under Animate, add the “Typewriter” Build In effect. Next select the line and apply the “Wipe” Build In effect.
When you click the “Preview” button, the animation should look almost complete. If something seems to be animating out of order, click the “Build Order” button on the Animate tab to rearrange animation builds. Depending on how snappy you want things, you may also need to adjust the duration of some of the animations.
4. Create and animate the steam marks
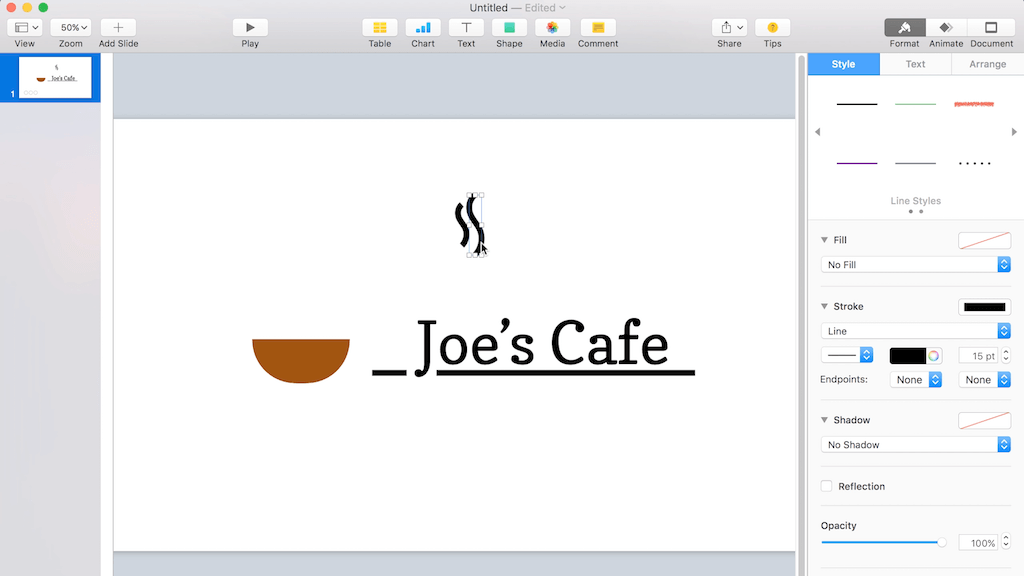
To make the coffee appear to be steaming, we’re going to add a couple of squiggly lines using the Draw with Pen tool under the Shape toolbar.
When you have this tool selected, click once, click and drag to create a curve, click a third time and drag again to create a curve in the opposite direction, and finally double click to close out the shape. (Still with me?) You should end up with something that looks like an “S.”
Change the border size to 15pt and resize and reposition the shape until it looks the way you want it to. Then duplicate it and make the copy slightly bigger. Stagger these above the coffee fill.
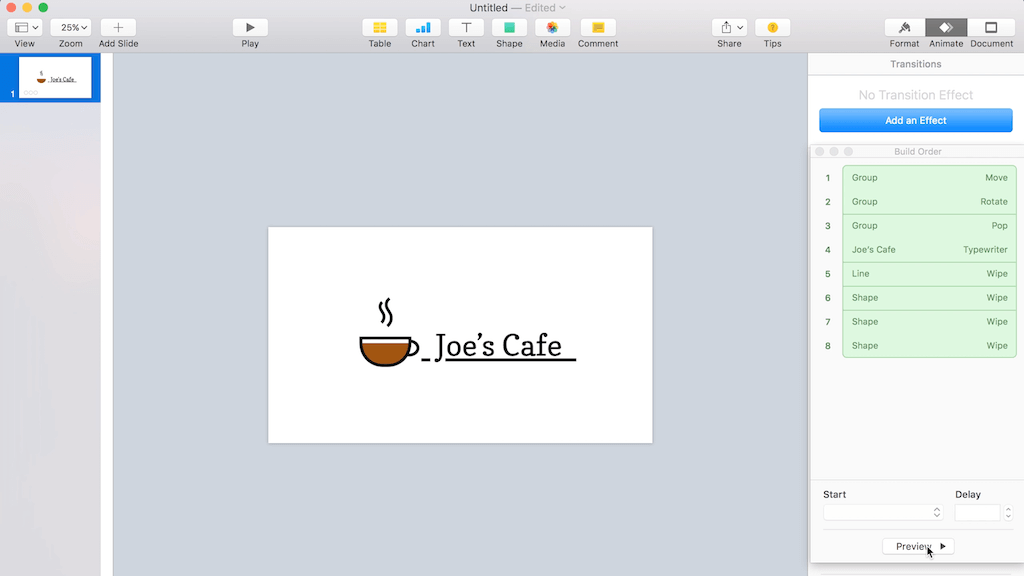
With both squiggles selected, add the “Wipe” Build In effect, and make sure the direction is set to “From Bottom.” Next, click the “Build Order” button and confirm that the second squiggle animation is set to build with the first one. Delay the second squiggle animation by a few milliseconds to make the animation flow more naturally.
5. Preview and export
Ready to see how the animation looks? Click the “Play” button to preview everything. If all looks right, it’s time to export.
Under File, Select “Export to… Quicktime.” And change the format to 1080p. Export the project, and go to the file to ensure it rendered properly.
If it did — congratulations! You’re ready to make an animated YouTube intro of your own.
Now you know how to make an animated YouTube intro… what’s next?
Keynote makes a surprisingly good animation app, huh? And believe it or not, this example just scratches the surface of what’s possible. To see what else you can create with Keynote, check out my new course.
Animate with Keynote